Showing posts with label Home Decorating Project. Show all posts

Tuesday, December 17, 2013

Ribbon and Feather Wrapped Ornaments


I love the way these Ribbon and Feather Wrapped Ornaments came out.  They were so easy to make.  They look so cute on our Christmas Tree.  Such a simple craft for Christmas.  

Ribbon and Feather Wrapped Ornaments

Supplies:

Spools of 2 inch Wire Ribbon (in colors of your choice)
2 lengths of feather (I found them in the craft section of Michael's, they are approximately 4 feet long) (colors of your choice)
straight pins
6  Styrofoam balls (10 inches in circumference)


Directions for Ribbon Balls:

Cut 6 7 inches strips of wire ribbon

Fold over ends 1/4 of an inch

Put end of 1st ribbon at the top of the ball and hold in place at the top and the bottom of the ball.

Do the same thing with your next ribbon, layering over the side of the 1st ribbon.

Work this way all of the way around the ball, and then pin at the top and the bottom of the ball.

Now cut 1 8 inch strip of ribbon, fold in half and twist the bottom of the ribbon and pin it to the top of the ball.  This is what you will hang it from the tree with.

Directions for the Feather Balls:

Pin the top of the length of feathers to the top of the ball, and then spin the ball and pin the feathers in a spiral down the ball until you get to the bottom.  I pinned the feathers down about every 1/2 of a row.

Aren't these easy to do?  I love the way they came out.  I hope you have fun making these.

Happy Holidays.
Debi

Saturday, December 14, 2013

Laura Jean Dolls on Etsy

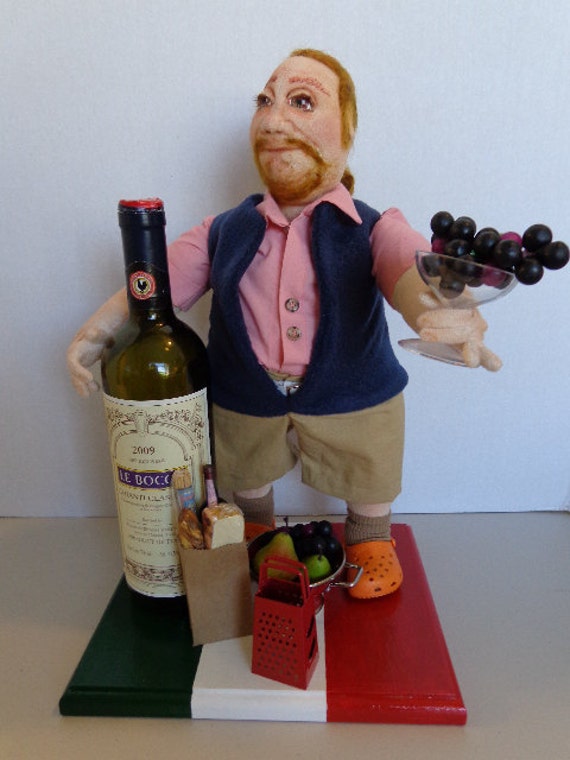
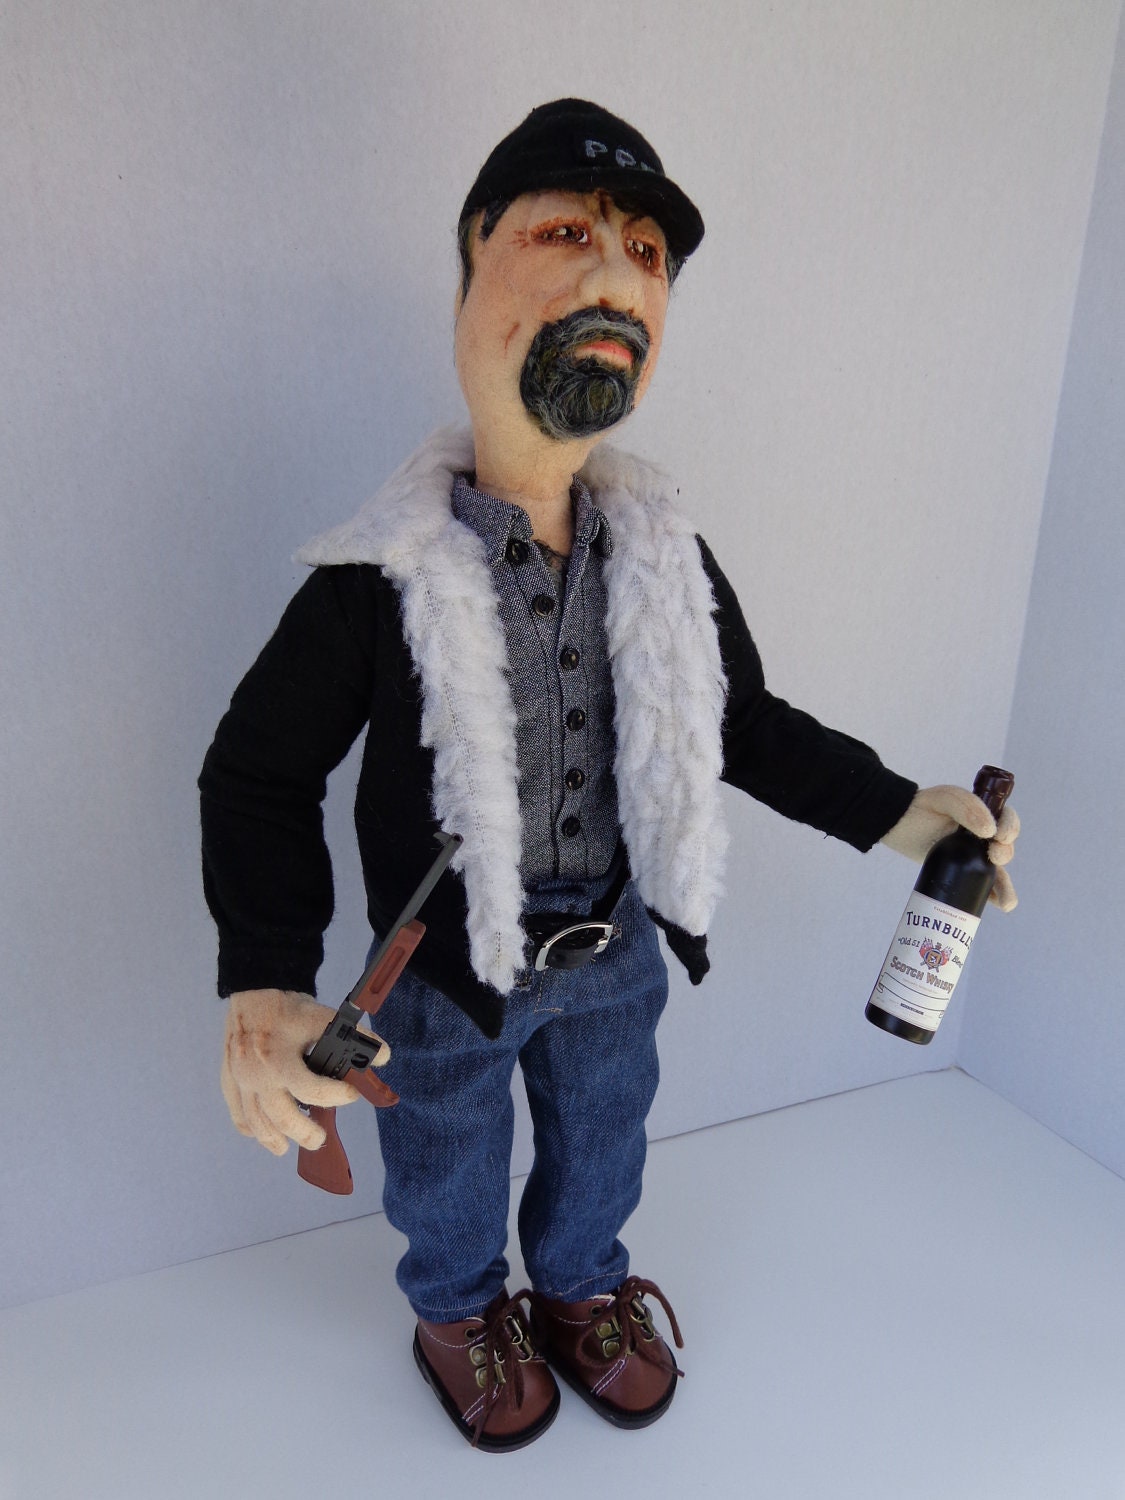
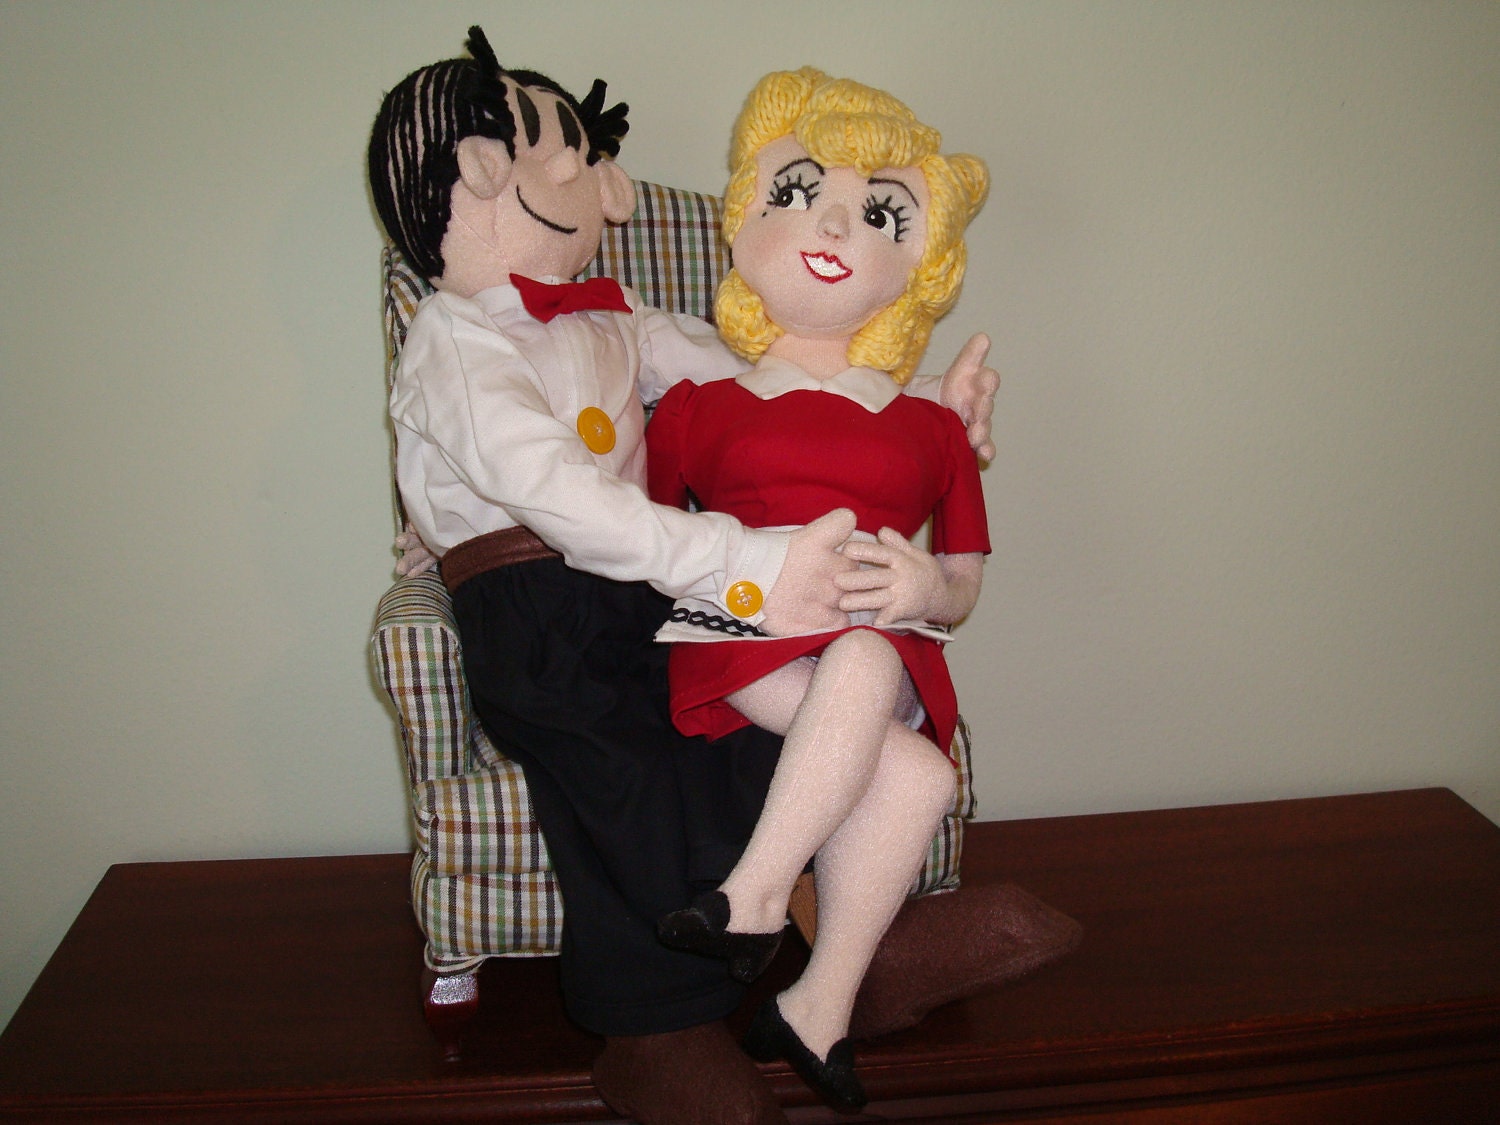
Today, I would love to introduce to my, Aunt Laura, from Laura Jean Dolls on Etsy.  She is one of the most creative people that I know.  She was a home ec teacher and high school counselor and is extremely talented.  Aunt Laura does everything from cooking, to decorating, and entertaining.  The list goes on and on.

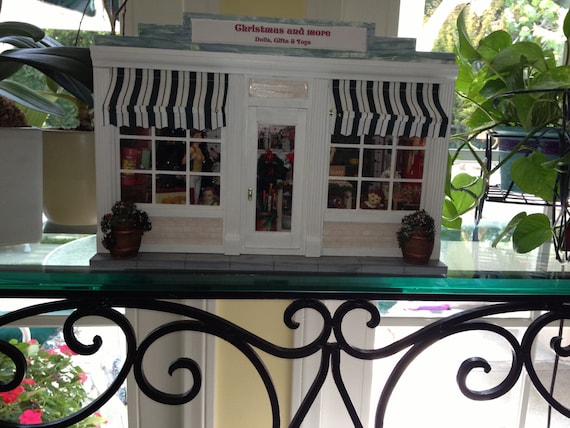
She makes fabulous Art Dolls and has been written up in Art Doll Magazine several times.   She also makes Miniatures which are truly one of a kind, amazing works of art.

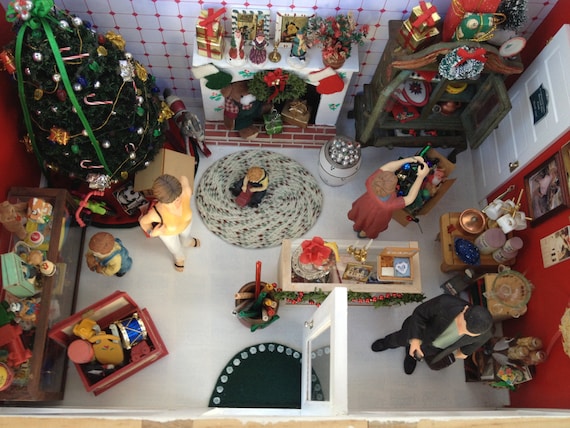
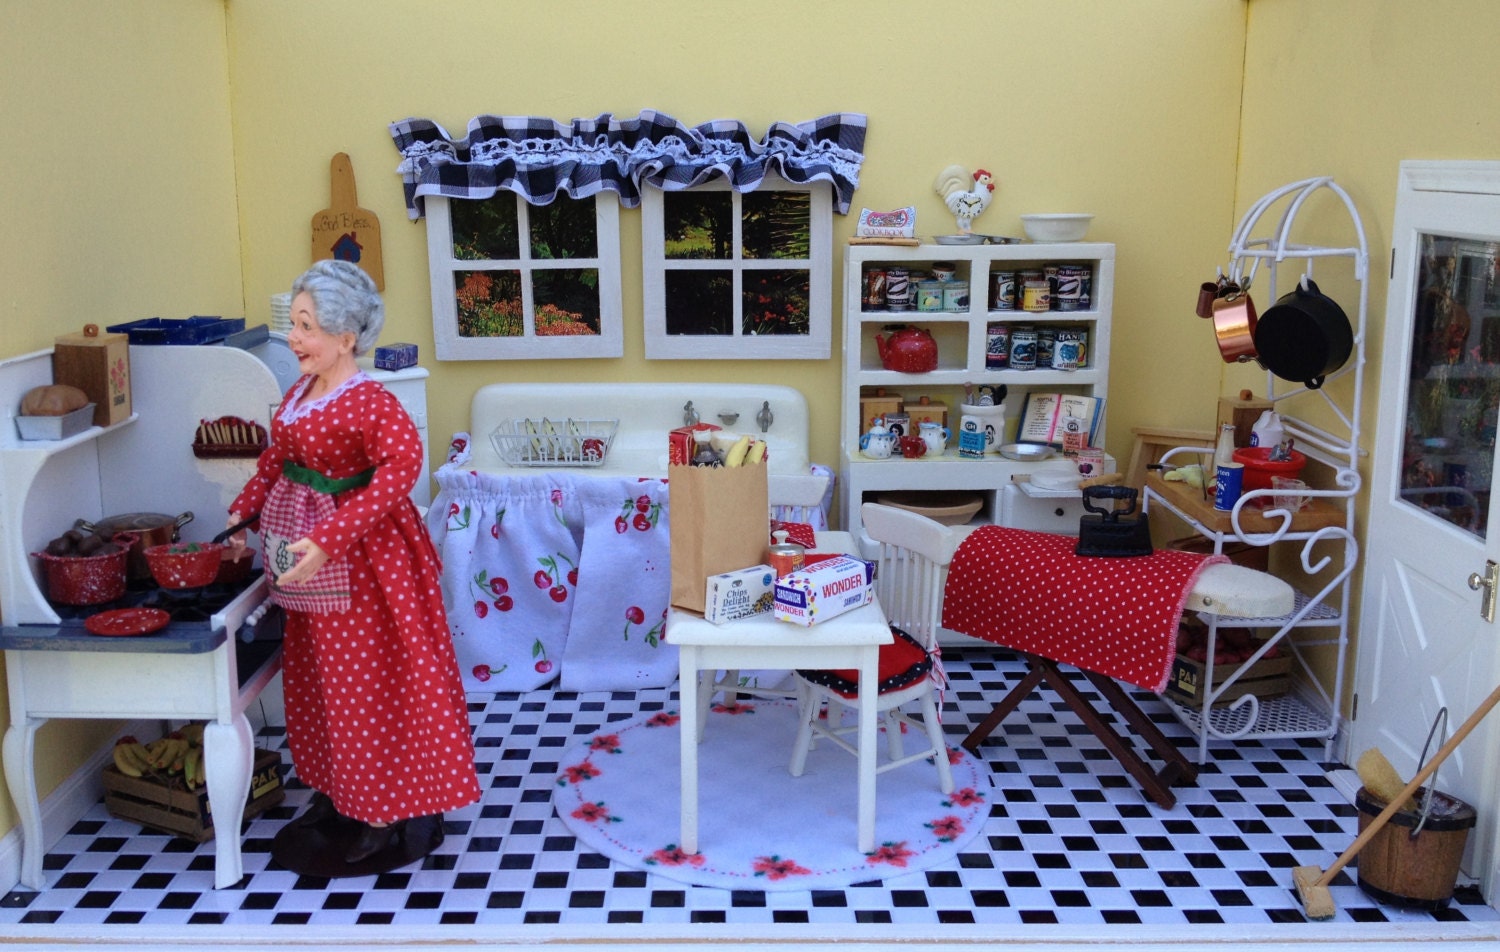
Here are just a few of the dolls and miniatures available at Laura Jean Dolls.


This Christmas Shop is one of her newest ones and it is so cute.

This is actually one of my favorites, since it reminds me of my great grandma.  My aunt gives a little history of my grandma in the description of the room box.  There is one she made of my grandma's living room from a picture and it was and exact replica of that room.

I hope that you'll head over and take a look at all of her fabulous dolls and miniatures.  She also does special orders.  It's a little late this Christmas, but maybe for another occasion.

Have a great weekend.
Debi

This is not a sponsored ad.  I just wanted to share my talented Aunt's work with all of you.
Find us at these great parties

Friday, December 13, 2013

Craftsy Flash Sale for Yarn and Fabric

Craftsy
Craftsy Flash Sale for Yarn and Fabric
Still haven't found the perfect present for the crafter in your life? Stuff their stockings with fabric and yarn from Craftsy! From  Friday, December 13th until Monday December 16th, designer yarn is on sale up to 80% off and designer fabric is up to 65% off. Order by 12/16 to guarantee delivery by 12/24...sorry, this is only for US residents. Hurry over to Craftsy! This sale expires on December 16 at midnight MT.

Craftsy 80% Off Yarn Flash Sale through 12/16
Craftsy 65% Off Fabric Flash Sale through 12/16


Have a great weekend.
Debi

This ad is sponsored by Craftsy

Tuesday, December 10, 2013

Gingham Christmas Wreath


I love the way my new Gingham Christmas Wreath came out.  It was pretty easy to make, it can be made in an afternoon.

Gingham Christmas Wreath

Supplies:

5 rolls red and white gingham wire edged ribbon 1 1/2 inches by 25 feet
1 roll burlap wire edge ribbon 1 inch by 25 feet
1 roll decorative wire edged ribbon 2 1/2 inches by 25 feet (I used one with a lacy look and reindeer
1 box white tipped straight pins
1 white foam wreath

Directions:

1.  Start by pinning the end of the gingham ribbon to the wreath and then wrap it around the entire wreath.


2.  Next pin the ribbon to the top of the wreath, near where you started, and make loops at the top of the wreath, and pin a straight pin in between each loop.  Do this around the entire wreath.  


3.  Repeat this process 4 times.  So you will have four rows around the front of the wreath.


5.  Once you have finished with the rows, you will loosely wind the burlap ribbon around the wreath, again pinning it at the back of the top of the wreath.

6.  You will next wind your wide decorative ribbon for to make a bow.  I did it 4 times and about 9 inches in length.  I then cut 2 16 inch pieces of ribbon, and put them behind the loops.  Then cut a 6 inch piece of ribbon and tie it around the center of all of your pieces.  Next, just pull each of the loops and fluff them up.  Arrange you long pieces of the ribbon down the front and cut them to the length that you like.


I love the way this wreath came out.  It looks so cute on my front door.

Have a great week, and as always if you have any questions, please feel free to contact me.
Debi

Tuesday, November 26, 2013

Mia Grace Baby Blanket - Free Pattern


THIS IS THE UPDATED CORRECT PATTERN

Today I am finally sharing my pattern for the Mia Grace Baby Blanket.  It came out so cute.  I can't wait for her arrival to see her all wrapped up in this sweet blanket for the holidays.  The pattern is pretty simple.  Just make sure that you use a row counter and count.  


Mia Grace Baby Blanket

Supplies:

5 skeins Baby Bee Hushabye Solid Boo Pink 3.5 oz/ 208 yards cotton yarn
4 skeins Baby Bee Hushabye Solid black 3.5 oz/ 208 yards cotton yarn
4 skeins Baby Bee Hushabye Solid White 3.5 oz/ 208 yards cotton yarn
size 9 26 inch circular needles
row counter
10 Stitch Markers

Pattern:

Row 1  Knit all stitches

Row 2  Knit 5, Purl across to last 5 stitches, Knit 5

Row 3  K5, K4, YO, SSK, K6, YO, SSK, K1, * K3, YO, SSK, K6, YO, SSK, K1* REPEAT * TO * 10 TIMES , K3, YO, SSK, K6, YO, SSK, K3, K5

ROW 4 AND ALL EVEN ROWS REPEAT ROW 2

ROW 5  K5, K2, K2TOG, YO, K1, YO, SSK, K3, K2TOG,YO, K1, YO, SSK, * K1, K2TOG, YO, K1, YO, SSK, K3, K2TOG, YO, K1, YO, SSK* REPEAT * TO * 11 TIMES, K2, K5

ROW 7  REPEAT ROW 3

ROW 8  REPEAT ROW 2

ROW 9  REPEAT ROW 1

ROW 10  REPEAT ROW 2

ROW 11  K5, K8, YO, SSK, K5, * K7, YO, SSK, K5, * REPEAT * TO * REPEAT 10 TIMES, K7, YO, SSK, K7, K5

ROW 12  REPEAT ROW 2

ROW 13  K5, K6, K2TOG, YO, K1, YO, SSK, K4, * K5, K2TOG, YO, K1,YO, SSK, K4 * REPEAT * TO * 10 TIMES, K5, K2TOG, YO, K1, YO, SSK, K6, K5

ROW 14 REPEAT ROW 2

ROW 15  REPEAT ROW 11

ROW 16 REPEAT ROW 2

Blanket Pattern

Using Pink to start

1.  Cast on 181 stitches

2.  Knit first 5 rows.
  
3.  Knit pattern in pink twice (32 rows)

4.  Next change yarn to black and knit pattern once, starting with row 1. (16 rows)

5.  Change yarn to white and knit pattern starting row 1, 1 1/2 times. (24 rows)

6.  Change to pink and continue from row 9 of pattern. (16 rows)

7.  Change yarn to black continue in pattern with row 9, 1 1/2 times. (24 rows)

8.  Change yarn to white and continue from row 1 of pattern 1 time.  (16 rows)

9.  Change yarn to black and continue in pattern starting with row 1, 1 1/2 times. (24 rows)

10.  Change to pink and continue in pattern starting with row 9, 1 time. (16 rows)

11.  Change to white an continue in pattern starting with row 9, 1 1/2 times. (24 rows)

12.  Change to black and continue in pattern starting with row 1, 1 time. (16 rows)

13.  Change to pink and continue in pattern starting with row 1, 2 times. (32 rows)

14.  Continue in pink and knit next 5 rows.

15.  Cast off

Print Mia Grace Baby Blanket Directions

Like I said, the pattern is not that hard, you just have to keep track of your rows and colors.  If you have any questions, please feel free to contact me.

Have a great week.


Find us at these great parties

Saturday, November 16, 2013

Thanksgiving Pins on Pinterest 1

I have been doing a lot of pinning lately, and I wanted to start sharing some of the Thanksgiving Pins on Pinterest with all of you.  There are so many good ones that I am doing this next Saturday as well. There are crafts, recipes, and decorating.  I love this time of year.  I'll also start some Christmas Pins this week.

Check out my Thanksgiving Recipes and Decorations Page on Pinterest.

Great Thanksgiving Pins on Pinterest


1. 13 Amazing Thanksgiving Table Decor from Place of My Taste

2. Caramel Turtle Bars from Growing in Grace

3. Mini Pumpkin Pie in a Jar from Keeping It Simple


4. The Importance of an Extra Chair from Daisy Mae Belle

5. Pumpkin Praline Bread Pudding from Flavor Mosaic

6. Edible Turkey Crafts from Pure Joy Events


7.  Mercury Glass Pumpkin from The Frugal Homemaker

8. Gluten Free Pumpkin Donuts from Gluten Free On a Shoestring


9. 60+ Thanksgiving Side Dishes from Lil' Luna

10. Corn Centerpiece from Ana Rosa on Tumbler

11. Thanksgiving Bloggers Recipe Showcase from A Peek Into My Paradise


12. New Thanksgiving Traditions: How to Make Thankful Pumpkins from Ectlectically Vintage

13. Flower Center Piece Pinned by Krista R @ Far From Normal

14. The Thankful Tree from The Mother Huddle


15. 10 Thanksgiving Must Try Recipes from How To Nest For Less

16. Great Ideas - 21 Thanksgiving Projects from Tatertots and Jello

17. Virtual Thanksgiving Dinner Cranberry Thanksgiving Dinner from Hoosier Made

Take a look at these posts and also my Thanksgiving Pinterest Page to see some wonderful ideas for Thanksgiving.  You can also start looking at some of my Christmas Pins.

We really appreciate your visiting us today.

Find us at these great parties

Sunday, June 2, 2013