Showing posts with label Homemaking. Show all posts

Friday, January 27, 2017

Valentine's Party Crackers and Dollar Tree

**I was compensated for this post. This post also contains affiliate links and I will be compensated if you make a purchase after clicking on my links.


Valentines Day Party Crackers and Dollar Tree - Adorned From Above www.adornedfromabove.com


I saw some images of Party Crackers on Pinterest, and thought that it would be fun to make some Valentine's Party Crackers for my family.  They are incredibly easy, you just need to remember to save the cardboard tubes from the center of  toilet paper rolls to fill.  


I bought lots of cute little candies at Dollar Tree to stuff the tubes with.  I was also able to get the tissue paper and ribbon to wrap them.  This is such a simple project and it cost me all of $14 to make 12 of these fun little Valentine's Day Party Crackers.  I still have more supplies left for another 4 or 5,  but I ran out of the toilet paper tubes.  Dollar Tree has so many fun things to stuff into them.  I bought 7 different kinds of candy, 1 Valentine's Day Tissue Paper, 3 Valentine's Day Ribbons erasers, and little foam stickers.  I had bought some other things also, but I ran out of room in the tubes, so I will just send them separately.  You can fill them with whatever you would like.  You can Shop For Quality Supplies Today! Visit DollarTree.com!

By the way, this cost about $1.16 per Valentine's Cracker, and it is so much cuter then buying a small box of candy at the store and the cost is so much less.  I can still make four more once I have more cardboard tubes, and that would bring the cost down to under $.90 per cracker.  An amazing price for such a cute little gift.


You can even have your supplies to make these cute Party Crackers Shipped To Your Local Dollar Tree Store For FREE*!  You don't get much more convenient then that, and the added plus is that you don't have to pay for shipping.

Now I know that you are buying these items in bulk, but they would make such a cute party favor for a school Valentine's Day Party, and you can do a ton of them for very little money.  They would also make cute party favors for birthday parties or weddings, just change the tissue for the outside and you are set.

Valentines Day Party Crackers at Adorned From Above www.adornedfromabove.com  Supplies:  7 small bags of any type of wrapped candy ( I used Smartees, chocolates, and suckers) Valentine's Day Stickers Valentine's Day Erasers 1 package Valentine's Day Tissue Paper 3 rolls of Decorative Ribbon (3 yards each) 1 double stick tape

Supplies:

7 small bags of any type of wrapped candy ( I used Smartees, chocolates, and suckers)
Valentine's Day Stickers
Valentine's Day Erasers
1 package Valentine's Day Tissue Paper
3 rolls of Decorative Ribbon (3 yards each)
1 double stick tape


These are some of the candies that I used for my Valentine's Day Party Crackers.

I laid everything out and then separated everything into 12 piles for each toilet paper tube.

I cute the tissue paper in half lengthwise.

Next, I stuffed the tubes with the candy, stickers, and erasers.

I then put a piece of double stick tape on the cardboard tube and set it on a piece of tissue paper and rolled it up.

Then put a piece of tape at the edge of the tissue paper and finish rolling.  This way you don't have to worry about getting the tape in the right place.

Cut the ribbon into 8 pieces, a little over 12 inches each and tie into bows on the crackers.  If the candy has fallen out of the tubes, just push them back in and tie.

This is such an easy gift to make and they are so cute.

Have fun and thank you for joining me today.  I always love hearing from you.

Have a great Valentine's Day.


Friday, December 16, 2016

Sugar Free Sweetener - Copycat Gentle Sweet

www.adornedfromabove.com Adorned From Above 1 1/2 cup + 2 TB Swerve Confectioners Erythritol 2 cups + 2 TB Xylitol 2 tsp Sweet Leaf Stevia or 5 packets  Directions:  Put all of the ingredients into a food processor and whirl for several minutes.

I made this Sugar Free Sweetener a copycat version of  the Trim Healthy Mama Gentle Sweet sweetener and it tastes the same to me.  It was a lovely surprise.  It uses erythritol, zylitol, and stevia.  I found the recipe for it at Joy Filled Eats Sweetener.  I modified her version a little bit.  I found that granulated erythritol doesn't dissolve easily.  I have been buying Swerve's confectioners erythritol and I thought that it would work great in this recipe.  The copycat Gentle Sweet has a cotton candy taste to it, and when added to my ice cream recipes and coffee creamer recipes it is amazing.  There is no funky aftertaste.  I think it saves a little money by making it yourself.  You can buy it for $9.99 per pound from the Trim Healthy Mama Site plus shipping. 

Swerve Confectioners Erythritol 1 Lb $7.85
Xylitol 1 Lb $6.87
Stevia 70 packets box $4.92 

Total $19.64 for approximately plus shipping 2 lbs at I Herb, so the cost is approximately the same. If you order $20.00 there is free shipping which is an added plus.

 The good thing about making it yourself is that you can actually buy the products from Whole Foods if you are in a hurry and can not wait for shipping or even local grocery stores. So that is an added bonus.  It is a little more expensive, but no wait time.

Sugar Free Sweetener - Gentle Sweet Copycat

Ingredients:
1 1/2 cup + 2 TB Swerve Confectioners Erythritol
2 cups + 2 TB Xylitol
2 tsp Sweet Leaf Stevia or 5 packets

Directions:

Put all of the ingredients into a food processor and whirl for several minutes.

You now have 3 3/4 cups of Sugar Free Sweetener Copycat Gentle Sweet.  

*The reason that I put it in the food processor is that I want it to be a very fine powder, not granulated.  I feel like it works better in recipes.  Since xylitol is still granulated, this helps the sweetener to dissolve into your recipes better.

I hope that you like the recipe and that you give it a try.  I comes the closest to sugar in taste that I have ever had, and it doesn't raise you blood sugar levels which is great.

Have a great week.
Debi

"flexoffers"


Tuesday, January 14, 2014

Top 10 Blog Posts - All Time


Today I am sharing another Top 10, it is the Top 10 Blog Posts of All Time.  It has been fun over the last week reviewing what people have found interesting at Adorned From Above.

I hope you don't mind seeing these posts one more time.  I will have new material for you on Thursday.

Top 10 Blog Posts - All Time


5. Thrift Shop Finds in August Part 2


I hope some of these posts are useful to you.  Have a great week.
Debi

Wednesday, December 18, 2013

Spice Drop Christmas Tree


So this Spice Drop Christmas Tree is so cute and it tastes great also.  How fun to work on a craft/decoration that you can eat also.  It is really easy to make, a little time consuming, but very easy.

Spice Drop Christmas Tree

Supplies:

1 Styrofoam Cone (mine was 12 inches high)
3 2 lb containers of red and green spice drops
1 box of 750 toothpicks

Directions:

Put a spice drop on each toothpick, I did one container at a time.

Break off the end of the toothpick, so it's not so long.

Start at the top of the cone and just start putting the spice on the tree so that they are touching.  

Work down the whole cone this way, until you finish at the bottom.

Now wasn't that easy.  Have fun, and there should be a few extra to eat also.

Merry Christmas!

Tuesday, December 17, 2013

Ribbon and Feather Wrapped Ornaments


I love the way these Ribbon and Feather Wrapped Ornaments came out.  They were so easy to make.  They look so cute on our Christmas Tree.  Such a simple craft for Christmas.  

Ribbon and Feather Wrapped Ornaments

Supplies:

Spools of 2 inch Wire Ribbon (in colors of your choice)
2 lengths of feather (I found them in the craft section of Michael's, they are approximately 4 feet long) (colors of your choice)
straight pins
6  Styrofoam balls (10 inches in circumference)


Directions for Ribbon Balls:

Cut 6 7 inches strips of wire ribbon

Fold over ends 1/4 of an inch

Put end of 1st ribbon at the top of the ball and hold in place at the top and the bottom of the ball.

Do the same thing with your next ribbon, layering over the side of the 1st ribbon.

Work this way all of the way around the ball, and then pin at the top and the bottom of the ball.

Now cut 1 8 inch strip of ribbon, fold in half and twist the bottom of the ribbon and pin it to the top of the ball.  This is what you will hang it from the tree with.

Directions for the Feather Balls:

Pin the top of the length of feathers to the top of the ball, and then spin the ball and pin the feathers in a spiral down the ball until you get to the bottom.  I pinned the feathers down about every 1/2 of a row.

Aren't these easy to do?  I love the way they came out.  I hope you have fun making these.

Happy Holidays.
Debi

Saturday, December 14, 2013

Laura Jean Dolls on Etsy

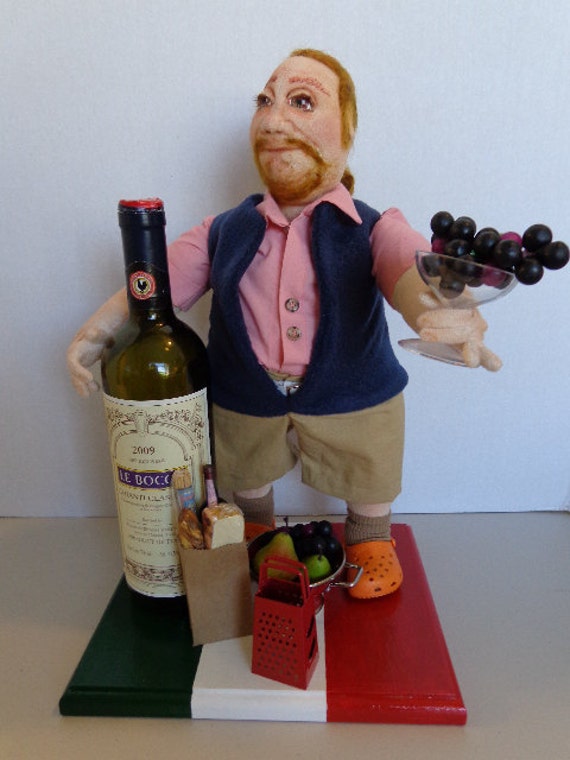
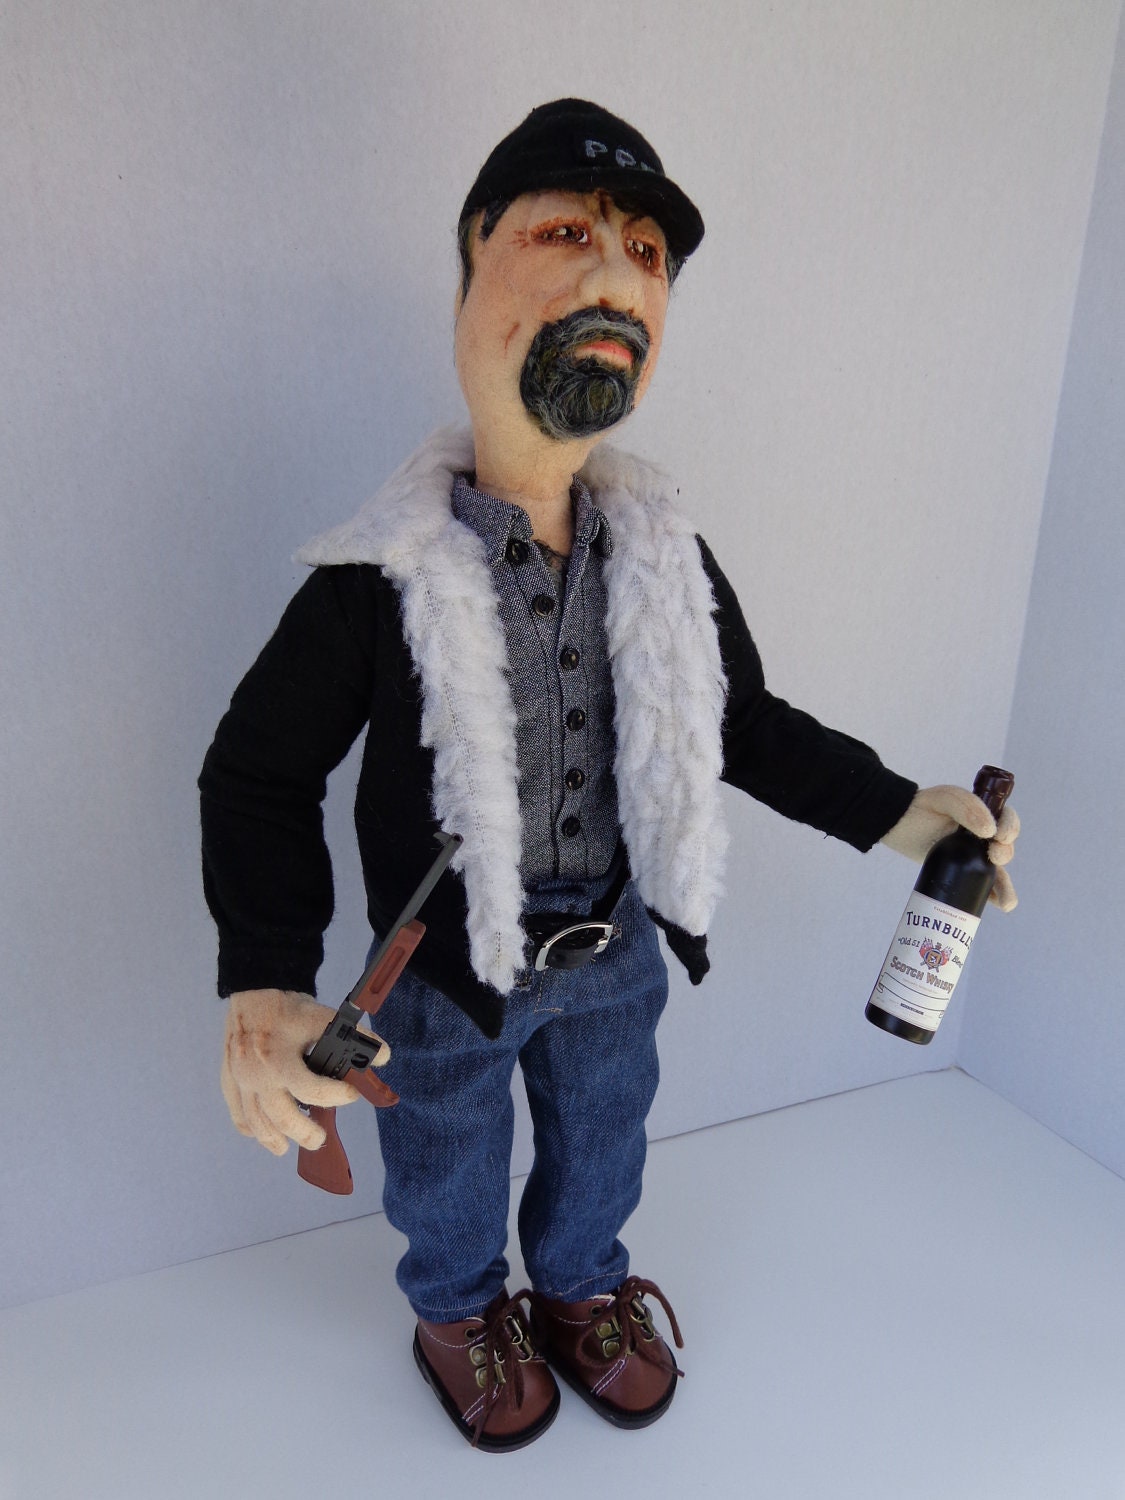
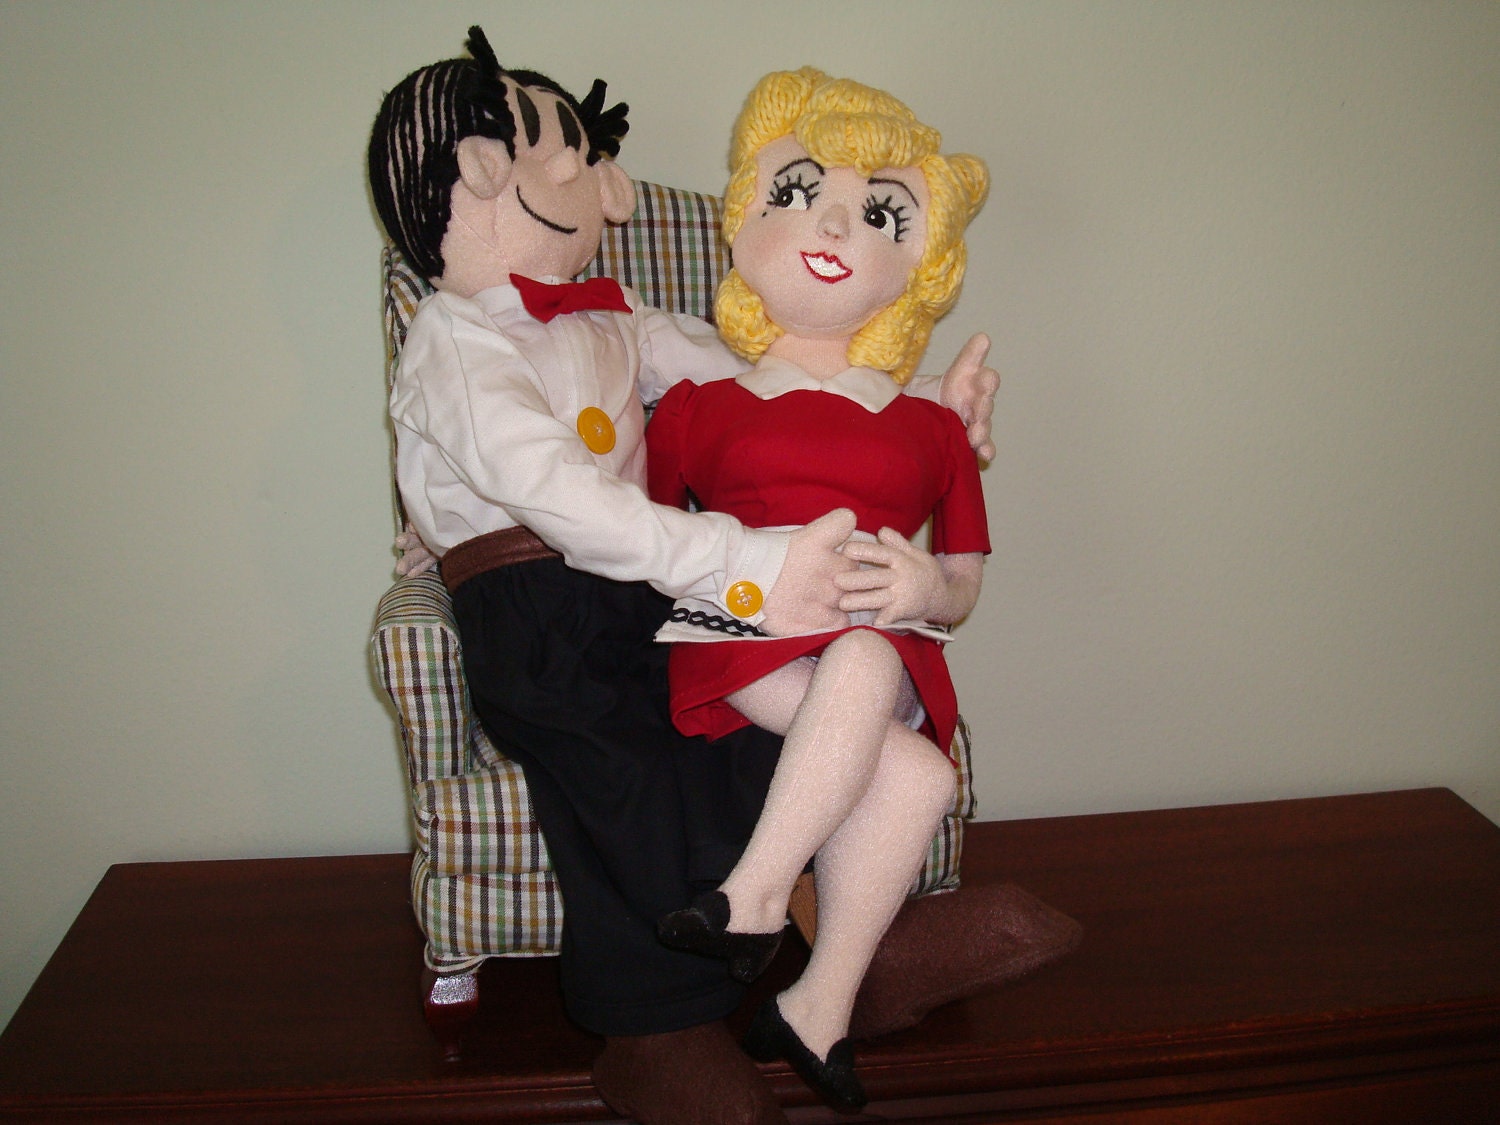
Today, I would love to introduce to my, Aunt Laura, from Laura Jean Dolls on Etsy.  She is one of the most creative people that I know.  She was a home ec teacher and high school counselor and is extremely talented.  Aunt Laura does everything from cooking, to decorating, and entertaining.  The list goes on and on.

She makes fabulous Art Dolls and has been written up in Art Doll Magazine several times.   She also makes Miniatures which are truly one of a kind, amazing works of art.

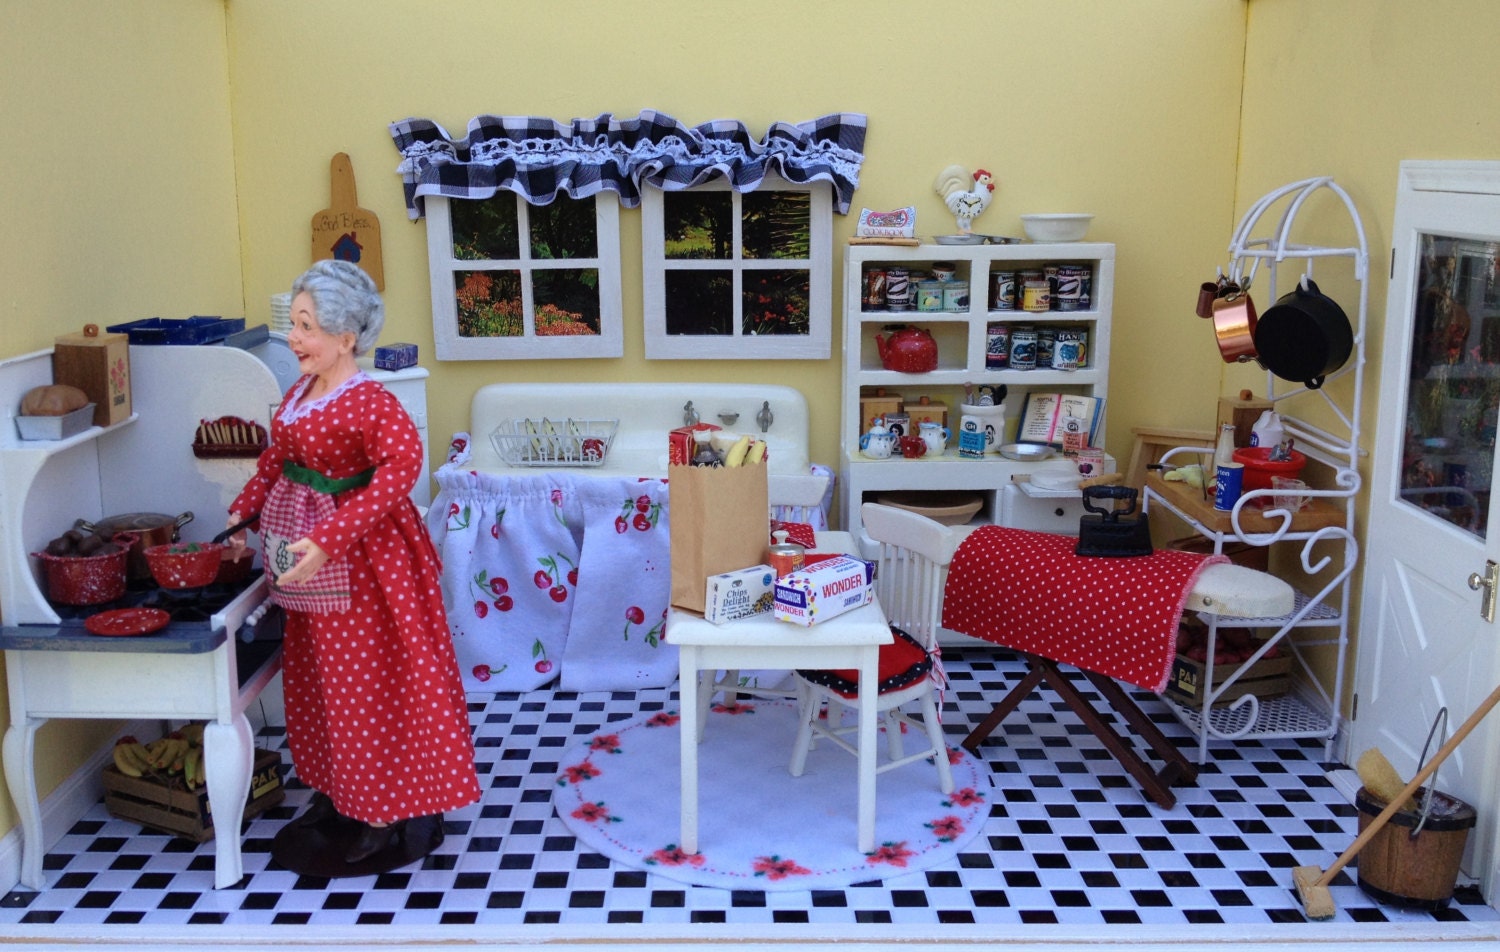
Here are just a few of the dolls and miniatures available at Laura Jean Dolls.


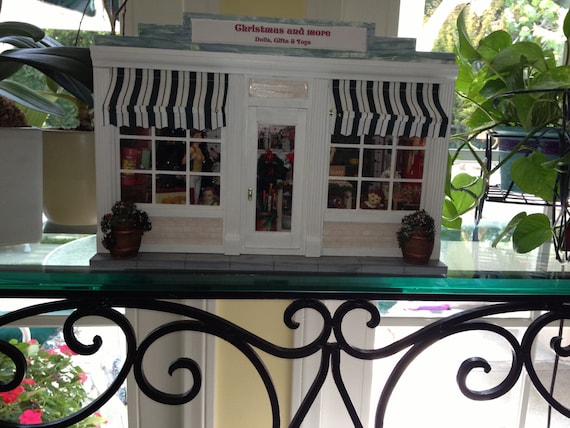
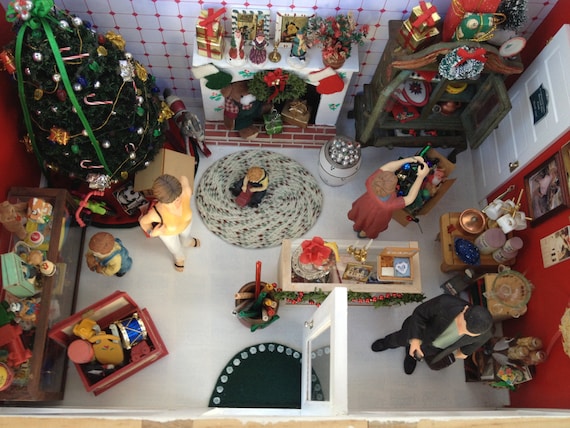
This Christmas Shop is one of her newest ones and it is so cute.

This is actually one of my favorites, since it reminds me of my great grandma.  My aunt gives a little history of my grandma in the description of the room box.  There is one she made of my grandma's living room from a picture and it was and exact replica of that room.

I hope that you'll head over and take a look at all of her fabulous dolls and miniatures.  She also does special orders.  It's a little late this Christmas, but maybe for another occasion.

Have a great weekend.
Debi

This is not a sponsored ad.  I just wanted to share my talented Aunt's work with all of you.
Find us at these great parties

Friday, December 13, 2013

Craftsy Flash Sale for Yarn and Fabric

Craftsy
Craftsy Flash Sale for Yarn and Fabric
Still haven't found the perfect present for the crafter in your life? Stuff their stockings with fabric and yarn from Craftsy! From  Friday, December 13th until Monday December 16th, designer yarn is on sale up to 80% off and designer fabric is up to 65% off. Order by 12/16 to guarantee delivery by 12/24...sorry, this is only for US residents. Hurry over to Craftsy! This sale expires on December 16 at midnight MT.

Craftsy 80% Off Yarn Flash Sale through 12/16
Craftsy 65% Off Fabric Flash Sale through 12/16


Have a great weekend.
Debi

This ad is sponsored by Craftsy

Tuesday, December 10, 2013

Gingham Christmas Wreath


I love the way my new Gingham Christmas Wreath came out.  It was pretty easy to make, it can be made in an afternoon.

Gingham Christmas Wreath

Supplies:

5 rolls red and white gingham wire edged ribbon 1 1/2 inches by 25 feet
1 roll burlap wire edge ribbon 1 inch by 25 feet
1 roll decorative wire edged ribbon 2 1/2 inches by 25 feet (I used one with a lacy look and reindeer
1 box white tipped straight pins
1 white foam wreath

Directions:

1.  Start by pinning the end of the gingham ribbon to the wreath and then wrap it around the entire wreath.


2.  Next pin the ribbon to the top of the wreath, near where you started, and make loops at the top of the wreath, and pin a straight pin in between each loop.  Do this around the entire wreath.  


3.  Repeat this process 4 times.  So you will have four rows around the front of the wreath.


5.  Once you have finished with the rows, you will loosely wind the burlap ribbon around the wreath, again pinning it at the back of the top of the wreath.

6.  You will next wind your wide decorative ribbon for to make a bow.  I did it 4 times and about 9 inches in length.  I then cut 2 16 inch pieces of ribbon, and put them behind the loops.  Then cut a 6 inch piece of ribbon and tie it around the center of all of your pieces.  Next, just pull each of the loops and fluff them up.  Arrange you long pieces of the ribbon down the front and cut them to the length that you like.


I love the way this wreath came out.  It looks so cute on my front door.

Have a great week, and as always if you have any questions, please feel free to contact me.
Debi

Thursday, December 5, 2013

Loaded Mashed Potatoes


This is my oldest son, Vince's, recipe for Loaded Mashed Potatoes and they are truly amazing.  We love it when he makes them for our holiday dinners.  This is truly an exceptional recipe.  He just gave me a taste, and I told him they "tasted like Heaven on a Spoon".  I am really grateful that he and my other children like to cook also.  It's really fun.

Loaded Mashed Potatoes

Ingredients:

5 lbs russet potatoes (not peeled, cubed, and cooked)
1 1/2 lbs bacon cooked and cut into bite size piece
1 lb butter
2 cups heavy whipping cream
12 oz whipped cream cheese
16 oz sour cream
 1 lb shredded cheddar cheese
1 1/2 TB Cholula hot sauce
salt and pepper to taste

Directions:

Preheat oven to 350 degrees and spray a casserole dish with non stick cooking spray

Add potatoes to a large pan or large bowl and add butter, mash with a potato masher.

Then add whipping cream, cream cheese, sour cream cheddar cheese, Cholula, salt and pepper and stir together.

Next, add the bacon and finish stirring.

Bake in oven for 45 minutes

Serves 12 to 16.

These Loaded Mashed Potatoes are so delicious.  I hope that you like them as much as we do.

Have a great holiday season.

Find us at these great parties

Tuesday, December 3, 2013

Flannel Receiving Blankets


These Flannel Receiving Blankets were so easy to make, and I love the way they came out.  I did some research online to find out the size of a receiving blanket, and it seems that they are approximately 36 x 36 inches.  Pretty easy.


So I bought 1 yard of each piece of flannel and then cut them all down to 36 x 36 inches.  Next I serged the edges on all of them.  It probably took me about two hours to make all of these, if that long.


I thought these would make great presents for anyone with a baby. (Christmas, newborn gift, baby shower gift)

Have a great week.
Debi

Find us at these great parties

Wednesday, August 7, 2013

Angel Wing Crocheted Dress Pattern Newborn


I crocheted this cute little Angel Wings Crocheted Dress for Charly's baby, Mia, who has not yet arrived.  It came out so cute.  I can't wait to see her in it. 

Here is the link to the pattern for Angel Wings Pinafore from Bev's Country Cottage.  It was a very simple dress to make, I would say it is an intermediate skill level.  It is just lots of counting to keep things straight.  I would forget to count stitches and have to rip out and go back to fix it, but that's not a big deal.

Angel Wings Crocheted Dress (Newborn)

2 skeins white I love This Cotton
1 H Crochet Hook
6 buttons

I hope you enjoy making this dress for the little girl in your life.

Have fun crocheting.